With Rust, you can do low-level number-crunching and bit-by-bit processing, while enjoying memory safety and concurrency features. With Helix, you can use your Rust code inside of a Rails project.
When is Rust useful, in the context of Rails?
It might sound strange to introduce Rust code into a Rails project: the Ruby ecosystem is already mature, and most problems have off-the-shelf solutions available. Performance is always on the minds of Rails developers, but most problems can be solved by better ActiveRecord queries, Sidekiq, and gems such as minimagick which utilize existing command-line tools.
That being said, there are a few niches left to fill:
- The thing you are doing is not already covered by existing Ruby gems
- The user is waiting on this operation, and it can't be processed later by a Sidekiq job
- An existing command-line tool doesn't exist, or you have a good reason for not using it
- You want to use Rust in an existing project, for your own learning and exploration
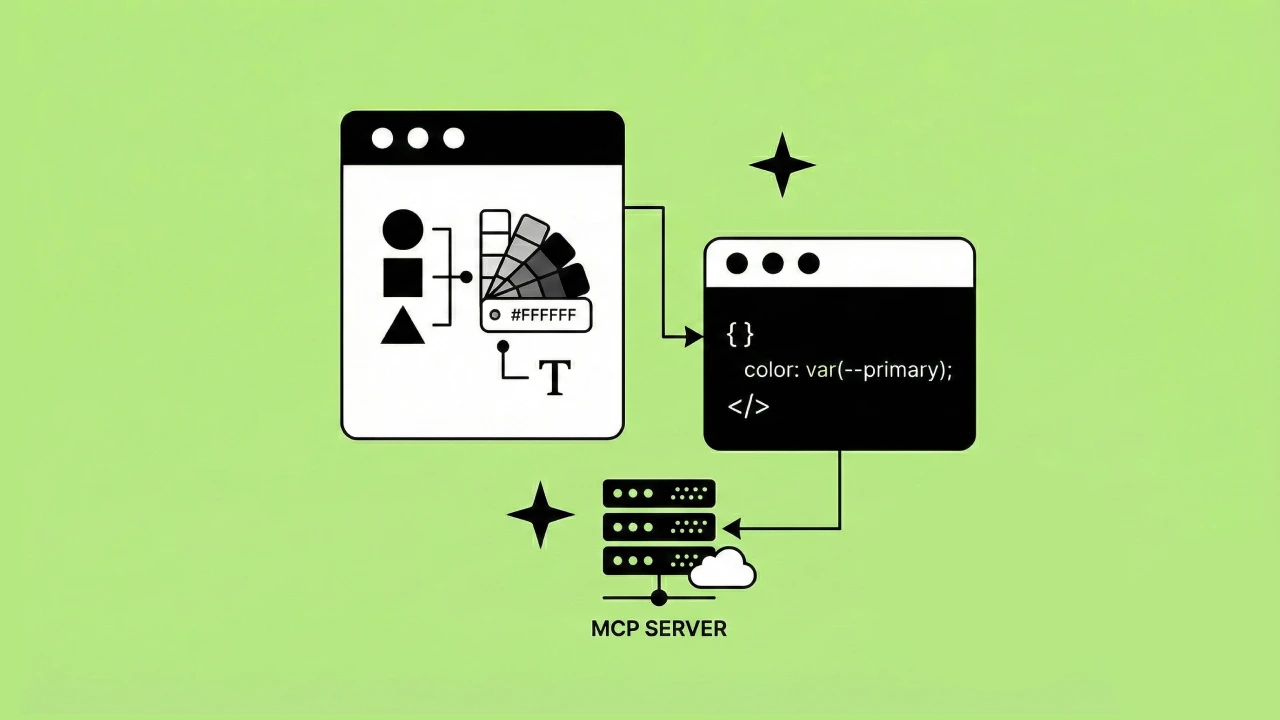
How Helix simplifies Ruby/Rust Interop
Rust code can be made to run as if it were C code, and by doing so, it can expose itself to Ruby's MRI runtime. The resulting code can be called by Ruby.
Normally, this would require you to write the Rust->C->Ruby bridge, the rake build tasks, tests, and all sorts of esoteric code to extend the MRI runtime.
With [Helix](https://usehelix.com/), you are a `rails g helix:crate` away from using native Rust code with Rails!
Let's get started!
We will be building a simple Rails web app, with a single page. Every time you open the page in your web browser, it will randomly select three initials, which it will draw within an image, with a circle around it. The image will be saved to the file system, and also displayed to you, when the page is rendered.
The image processing logic is done in Rust, using some common modules (in Rust parlance, these are called "crates"). Everything is self-contained inside the project, and there are no environment dependencies, such as ImageMagick.
Scaffold the project
Before we start, we'll need some prerequisites: the Rust compiler, a Rails project, and the helix-rails gem:
Install Rust
`curl https://sh.rustup.rs -sSf | sh`
Check that Rust installed successfully
`rustc --version`
It should return a valid version number; currently at 1.3.6 as I write this.
Create a Rails project
`rails new --skip-active-record my_project`
`cd my_project`
Add helix-rails gem to your project
`gem 'helix-rails', '~> 0.5.0'`
`bundle install`
Generate and test a basic crate
Now it's time to call some Rust code from Ruby, and prove that it works:
`rails generate helix:crate image_stamper`
`rails console`
`ImageStamper.hello`
If you can't see your Rust module, available as a class inside of Ruby, check out https://github.com/tildeio/helix/issues/157, and make sure that you have the Rust compiler installed.
Import Rust libraries into your project
One of the exciting things about using Rust inside of Rails, is that you have access to the entire Rust ecosystem of modules, called "crates". One such crate is the imageproc crate, which allows you to run algorithms on an image, manipulate pixels, and do the usual crop/rotate/text operations, much like you would do in [ImageMagick](https://www.imagemagick.org/), through the `minimagick` and `rmagick` gems.
1. Let's add imageproc as a dependency:
Edit `project/crates/image_stamper/Cargo.toml`:
[dependencies]
helix = "0.7.5"
image = "0.21.0"
imageproc = "0.18.0"
rusttype = "0.7"
2. let's make those crates available in our custom code using `extern crate`, and pull the functions we need into the root namespace with `use`, to make them more convenient:
Edit `my_project/crates/image_stamper/src/lib.rs`:
#[macro_use]
extern crate helix;

extern crate image;
extern crate imageproc;
extern crate rusttype;

use std::path::Path;
use imageproc::drawing::{
  draw_text_mut,
  draw_hollow_circle_mut
};
use image::{Rgb, RgbImage};
use rusttype::{FontCollection, Scale};

// existing ruby! { ... } code below.
Download a font, so that we can stamp it!
Download the free and open-source Deja Vu Sans font, available here.
Extract the zip file. Inside of the `dejavu-sans-ttf-2.37/ttf/` directory, there will be a `DejaVuSans.ttf` file; **drag that file** into `my_project/crates/image_stamper/src`, so that it is beside the `lib.rs` file (that contains the "Hello World" code).
Let's get stamping!
Let's implement the core functionality of our Rust module. This module will generate a black image, stamped with purple text:
// `extern_crate` and `use` declarations above

ruby! {
  class ImageStamper {
    def stamp(message: String, outfile: String) {
      let public_path = &[String::from("public"), outfile].join("/");
      let out_path = Path::new(&public_path);

      let mut image = RgbImage::new(200, 200);
      let purple = Rgb([122u8, 122u8, 255u8]);

      draw_hollow_circle_mut(&mut image, (100, 100), 75, purple);

      let font = Vec::from(include_bytes!("DejaVuSans.ttf") as &[u8]);
      let font = FontCollection::from_bytes(font).unwrap().into_font().unwrap();

      let height = 48.0;
      let scale = Scale { x: height * 1.2, y: height };

      draw_text_mut(&mut image, purple, 50, 75, scale, &font, &message);
      let _result = image.save(out_path).unwrap();
    }
  }
}
At this point, feel free to try it out, by firing up a `rails console` from your project doing a `ImageStamper.stamp("AZS", "AZS.png")`. You should see the image file appear at `public/AZS.png`, and it should contain your text!

Wire it to Rails
Now, all we have to do is generate a Rails controller, that utilizes the Rust module, and places the result in a view. You can generate the controller with `rails g controller Image`, and then edit `app/controllers/image_controller.rb`:
class ImageController < ApplicationController
  def show
    initials = ('AAA'..'ZZZ').to_a.shuffle.first
    filename = "#{initials}.png"
    ImageStamper.stamp(initials, filename)
    render inline: "<img src=\"#{filename}\">"
  end
end

Rails.application.routes.draw do
  root 'image#show'
end
See it in Action!
`rails server`
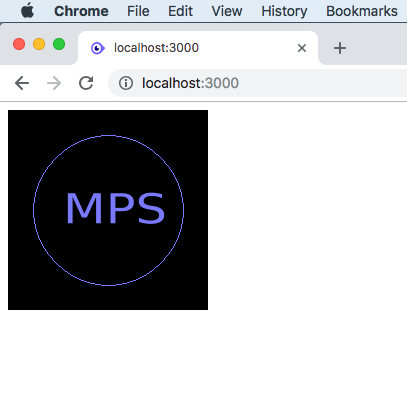
Visit it in your browser!
What do we have here?
So far, our toy website doesn't do much, but it has a few interesting properties:
- The image processing logic is doing "in the loop" with the request, inside of the Rails process
- All of our dependencies are self-contained inside the project
- there is no question what version is required
- we no longer need to configure the server environment, or the shell commands it has available
- Our image processing logic will work equally well on Windows, due to the cross-platform nature of Rust
- We can use any Rust crates we want, such as rusttype, to work with fonts
- Our fonts are independent of what's installed in the server environment
- We save the extra step of shelling out to ImageMagick, which saves a few CPU cycles
I'd say that's pretty cool.
Now, build the thing you want!
The next step would be to combine this with Active Storage, Shrine, or PaperClip, to work with user-uploaded images.
Or, perhaps you will find something cool in the imageproc documentation.
Resources
- Helix One Year Later
- Improving Ruby Performance with Rust
- Getting Started with Helix
- GitHub - Piston Developers: imageproc